Page 2 of 8
Re: German 1989 L300 build
Posted: Mon Oct 03, 2011 5:50 am
by Steinbruchsoldat
Re: German 1989 L300 build
Posted: Mon Oct 03, 2011 6:56 am
by Steinbruchsoldat
My sister started sewing some curtains...


...while i checked the wiring on my Subaru radio that i`m going to use:

Re: German 1989 L300 build
Posted: Mon Oct 03, 2011 8:04 am
by FalcoColumbarius
Steinbruchsoldat wrote:Same procedure as always: Sand with 240 grit, degrease with acetone and paint. Did this to a few cars without problems so far...
The night was warm, i think about 18°C. I think it was just a bad charge of bedliner that i got...
Will redo it tomorrow...

I can't think of another reason ~ it's not dirty, got plenty of key, temperature was above 10C ~ only thing that I can think of is perhaps "dew point" (was it dusk when you were painting and dew was forming on the surface as you painted); or it was the paint: Did you brush/roll or did you spray? If you sprayed then there is the possibility of condensation in the line, do you have a water trap? Was the paint properly mixed?
Better luck on your next attempt and please let us know if you discover what the cause was.
Falco.
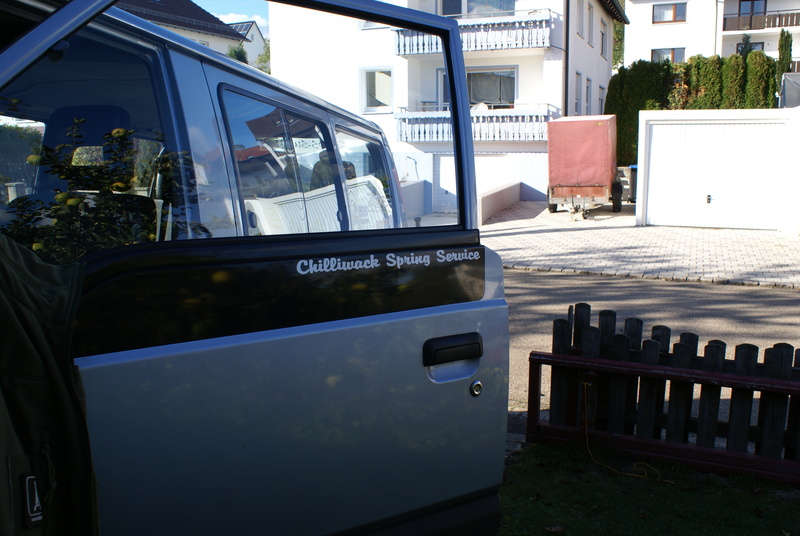
P.S.: Where did you get the Chilliwack decal from?
Re: German 1989 L300 build
Posted: Mon Oct 03, 2011 8:59 am
by Steinbruchsoldat
I can`t think of another reason than bad paint. I sprayed several car`s with the exact same setup without any problems... I`m sure it`ll be fine tomorrow...

I got the decal from my friend Rick, the owner of Chilliwack Spring Service when i visited him at his shop a few weeks ago:

If someone ever goes in his shop, say hello from me...
Re: German 1989 L300 build
Posted: Tue Oct 04, 2011 9:09 am
by L300Foca
NICE !!
Dont stop whith pictures! :)
Re: German 1989 L300 build
Posted: Tue Oct 04, 2011 11:34 am
by Steinbruchsoldat
Another bummer today...

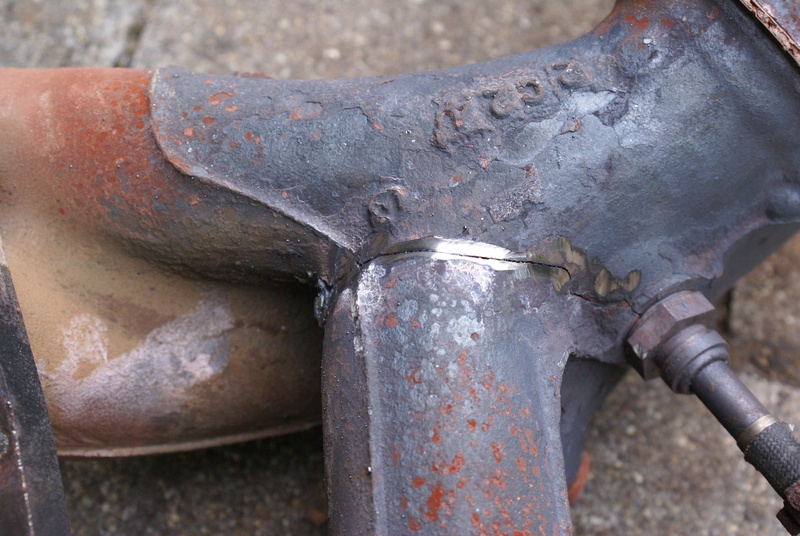
I noticed a crack in the exhaust manifold and wanted to weld it. For better access i removed the heat cover and noticed another crack all the way around the manifold. It`s basically broken in half. So i removed the manifold and exhaust completely and noticed another two cracks in the exhaust tubing. When i wanted to weld it i noticed that my gas for the welder was empty...
So i have lot`s of work to do tomorrow after work, so i can maybe try to get it inspected on Thursday. But my brake kit won`t arrive in time, so i have to be really lucky to get it approved...
At least i painted it again today and the paint sticks like it`s supposed to...

Re: German 1989 L300 build
Posted: Tue Oct 04, 2011 1:11 pm
by L300Foca
Steinbruchsoldat wrote:Another bummer today...
I noticed a crack in the exhaust manifold and wanted to weld it. For better access i removed the heat cover and noticed another crack all the way around the manifold. It`s basically broken in half. So i removed the manifold and exhaust completely and noticed another two cracks in the exhaust tubing. When i wanted to weld it i noticed that my gas for the welder was empty...
So i have lot`s of work to do tomorrow after work, so i can maybe try to get it inspected on Thursday. But my brake kit won`t arrive in time, so i have to be really lucky to get it approved...
At least i painted it again today and the paint sticks like it`s supposed to...
Check your tank as well (remove, wash all around....)
When I removed mine, it was disaster, 3-4 holes on the sides, rust everywhere....
Re: German 1989 L300 build
Posted: Tue Oct 04, 2011 2:19 pm
by Steinbruchsoldat
The tank looks like new, i figure it was replaced not a long time ago... All the stuff on the underside looks pretty good, it`s just the body that was in bad shape...
Re: German 1989 L300 build
Posted: Sat Oct 08, 2011 1:05 pm
by Steinbruchsoldat
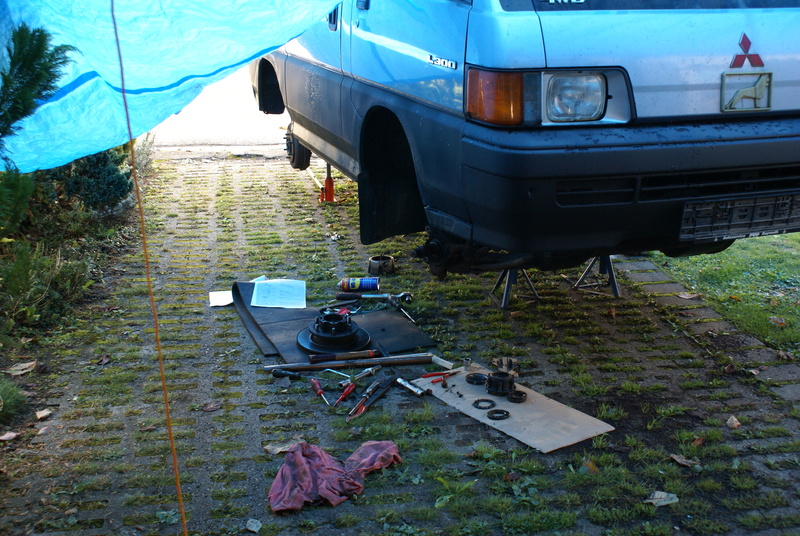
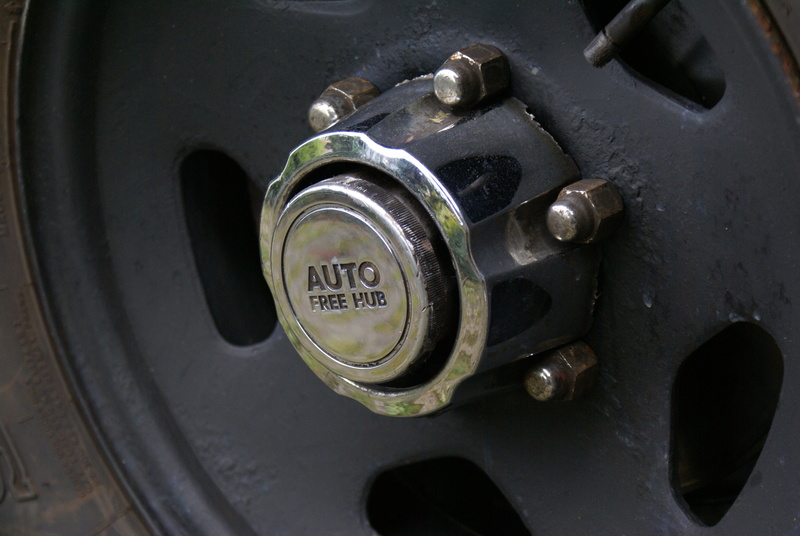
Spent the whole day at the front brakes and i`m not even finished yet...
Passenger side went flawless, everything worked like it was supposed to. Then i started with the drivers side. I wasn`t able to unbolt the brake caliper, both bolts were rusted big time. So we tried to get the hub out without removing the brake caliper, but it didn`t work out. So i grabbed the angel grinder and cut off the bolts. But it didn`t dome off either. So i started to drill out the bolts, but wasn`t able to get them out both, because of the limited room. It took me the better parts of an hour to take a sledgehammer and bang the caliper out a few mm, so i could reach it with the angle grinder. After 3 hours of work it came finally out. Took me another half an hour to bang the brake disc free of the hub, it`s incredible how they were rusted together. My father started to drill the old bolts out then, while i started to assemble the new brakes...7
Will add some pictures tomorrow...
Oh, and all 4 rims where painted flat black...
Re: German 1989 L300 build
Posted: Sun Oct 09, 2011 7:33 am
by Steinbruchsoldat
This is how the exhaust looked:

And the exhaust manifold:
Few pics from yesterday...
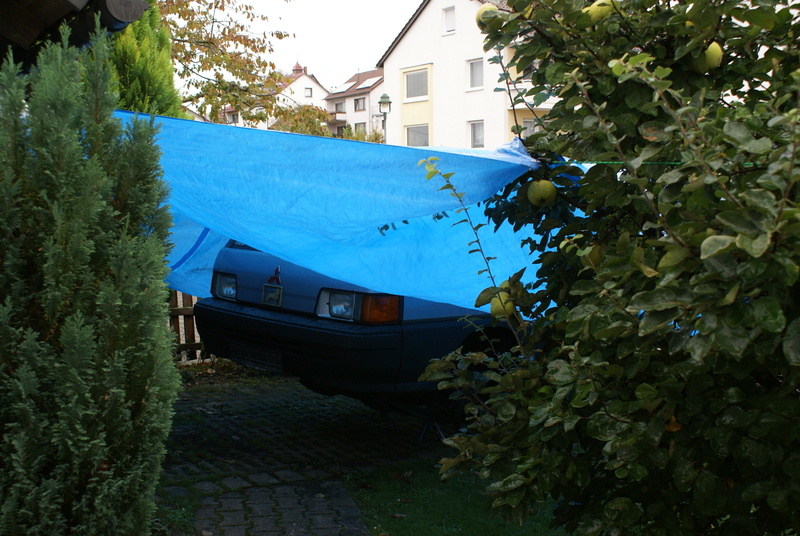
It rained all the time and the L300 doesn`t fit in my shop, so i placed some tarps over it:
Wheels primered:

And painted:
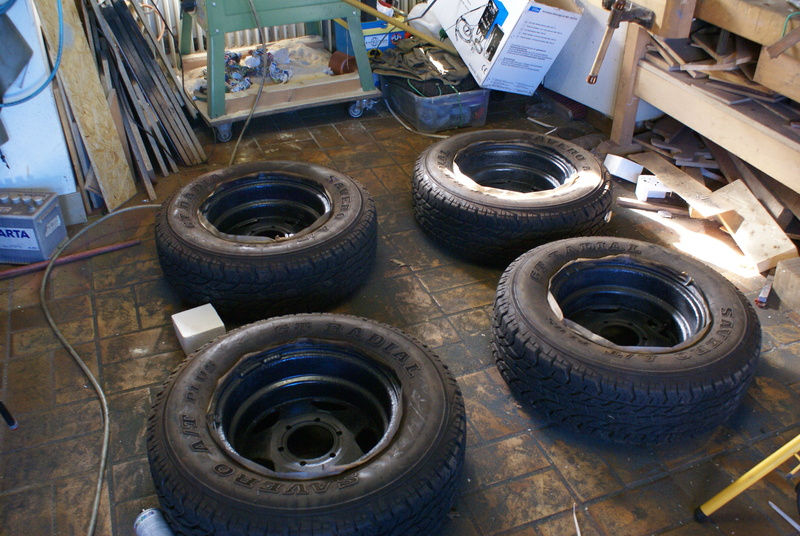
Doesn`t look that bad anymore, does it?

Placed some more stickers today:

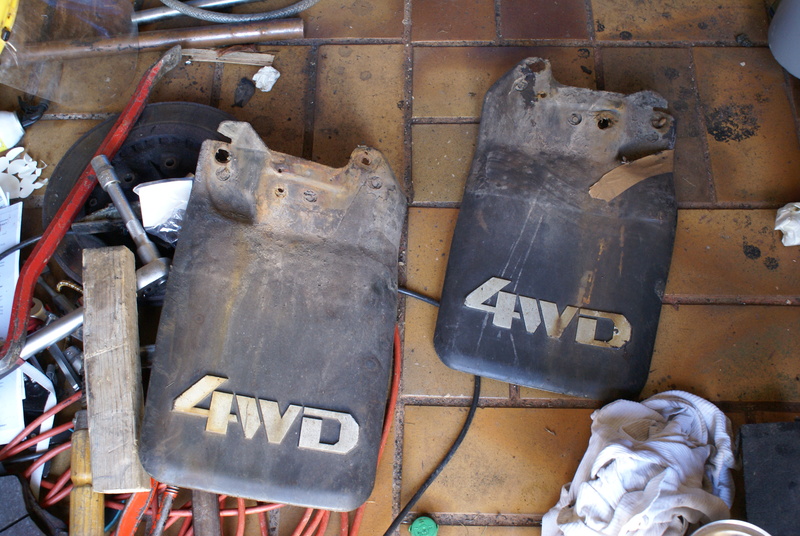
Now it`s time for some mud flaps restauration:
Re: German 1989 L300 build
Posted: Sun Oct 09, 2011 8:39 am
by Kuan
So nice to see the pics with the whole family involved!

Great project
Re: German 1989 L300 build
Posted: Sun Oct 09, 2011 8:45 am
by Steinbruchsoldat
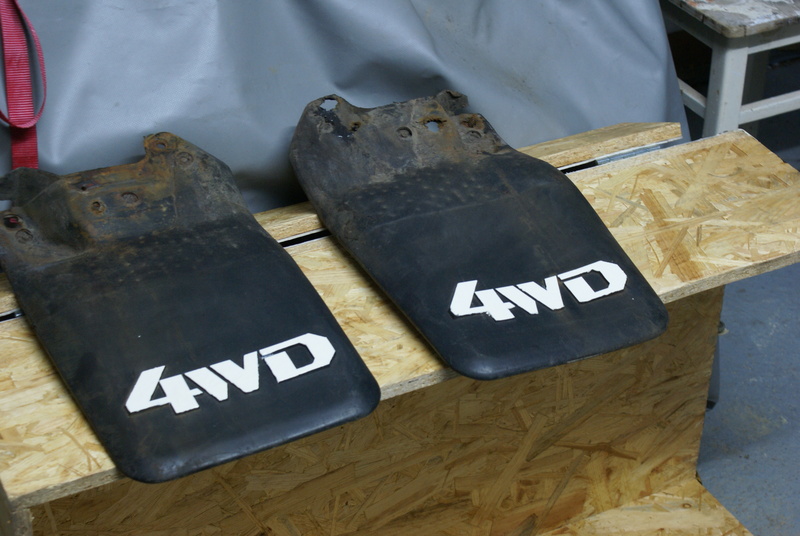
Thanks...
The mudflaps are finished:
Re: German 1989 L300 build
Posted: Sun Oct 09, 2011 9:51 am
by vixentd
With the rust you are facing you might want to invest in a small acetylene torch set. A small butance torch may also work if you have them over your way. I Heat the bolts up red hot to break the rust before removing. A lot easier than breaking and drilling. If you plan on keeping the vehicle, antiseize compound can be applied to each bolt thread to ensure easy removal down the road. Makes a world of difference.
Nice to see the restoration process.
Re: German 1989 L300 build
Posted: Sun Oct 09, 2011 10:07 am
by Steinbruchsoldat
I have a torch set, but it was useless too...
Btw, i clean every bolt and put some loctite on most of them before i put them on again...
Re: German 1989 L300 build
Posted: Mon Oct 10, 2011 9:53 am
by L300Foca
Steinbruchsoldat wrote:Made some great progress today...
And sprayed it with some bedliner:

Which kind of color is your bedliner? Picture of can :) if is possible :) (In Serbia we use some 999 color?@#?)
tnx


