Thanks Konadog.....and there was me thinking I was boring everyone to death with masses of photos??
Anyway - here is a bit more news:
Progress on the Mud Monkey has been slow this week due to poor weather, fitting a stereo in an L400 Royal Exceed (don't even go there, but have a look at
THIS is you fancy owning a headache of a Delica to work on!!) and other distractions (like trying to clear a few cm's of space in my garage!) but the progress recently has consisted of fixing some broken wheel studs and chopping the arches ready for the 31" MT's.
When I got the car, it already had a broken wheel stud on the front, so this was going to be sorted while the front wheels were off for the arch treatment.
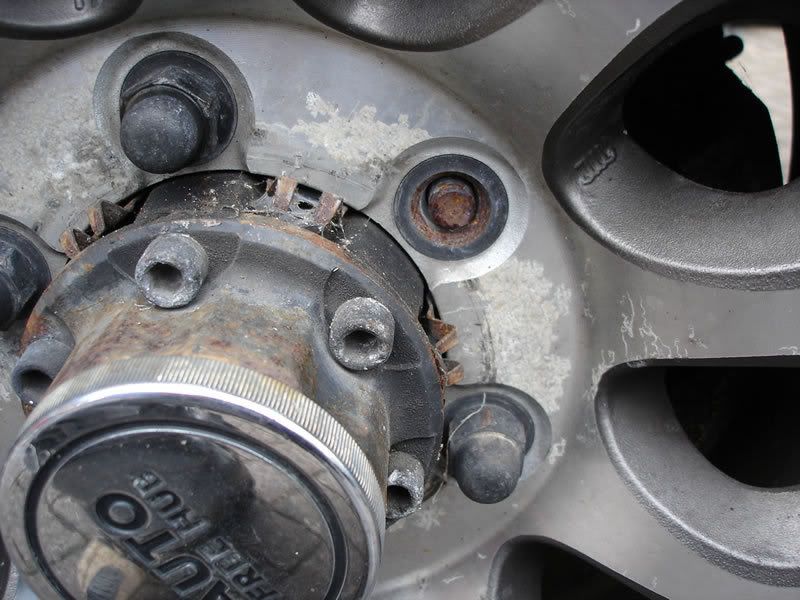
While taking the front wheel of, one of the nuts refused to budge after about 1/2 turn and I deduced that it had been previously cross-threaded. Putting a long lever bar on it soon confirmed my initial doubts because it decided to sheer off too....
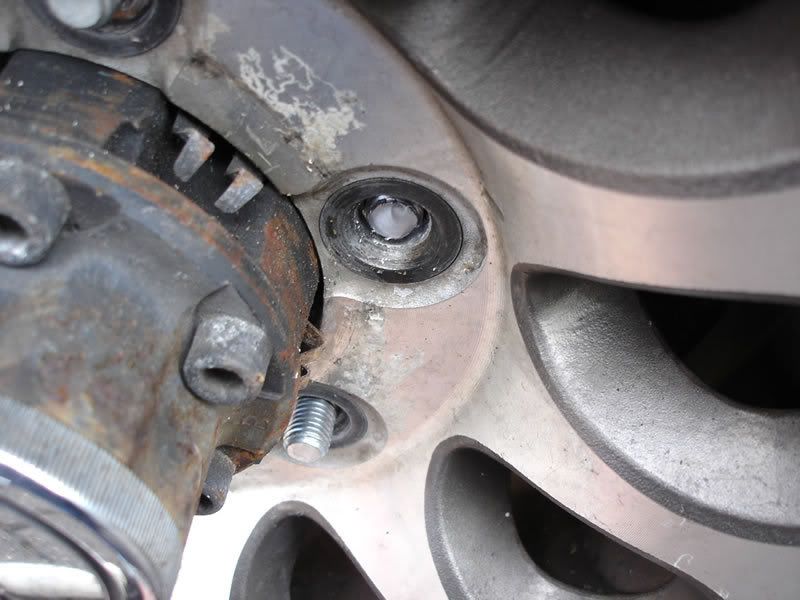
At least it was on the same hub! So off with the front hub (I'm getting quite good at these now :lol: )
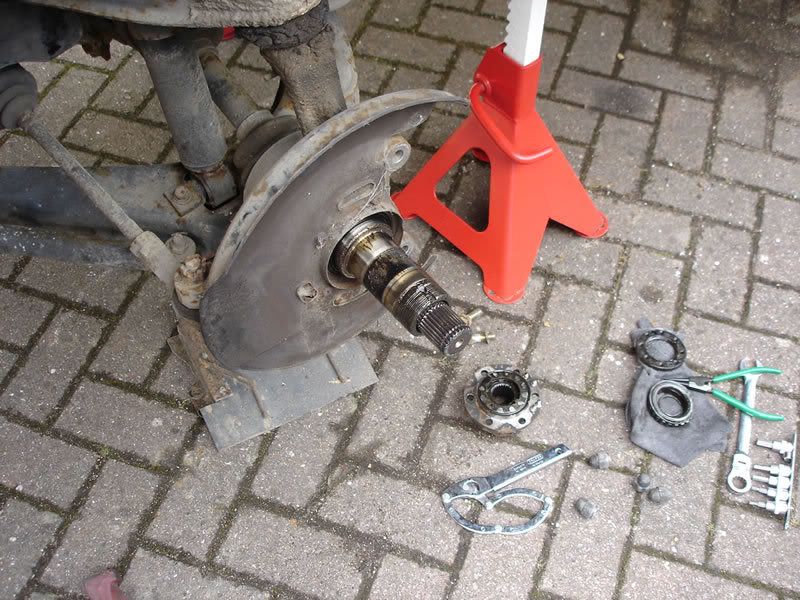
Split the hub from teh disk so that I could knock out the broken studs and fit the new ones:

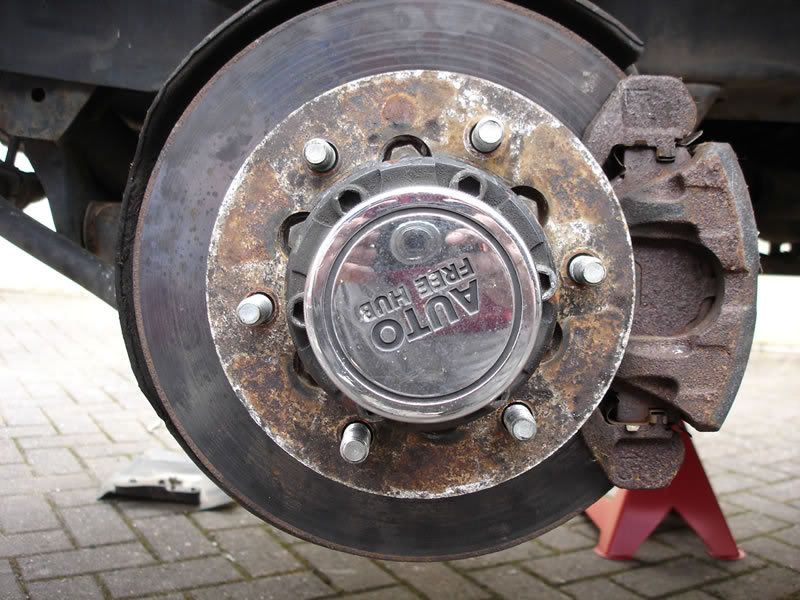
Refit all the parts and back to a 6stud front axle.... :D :D
Next was the arch chopping - getting rid of all the unwanted metal/plastic that gets in the way of my 31's....here's a before shot:
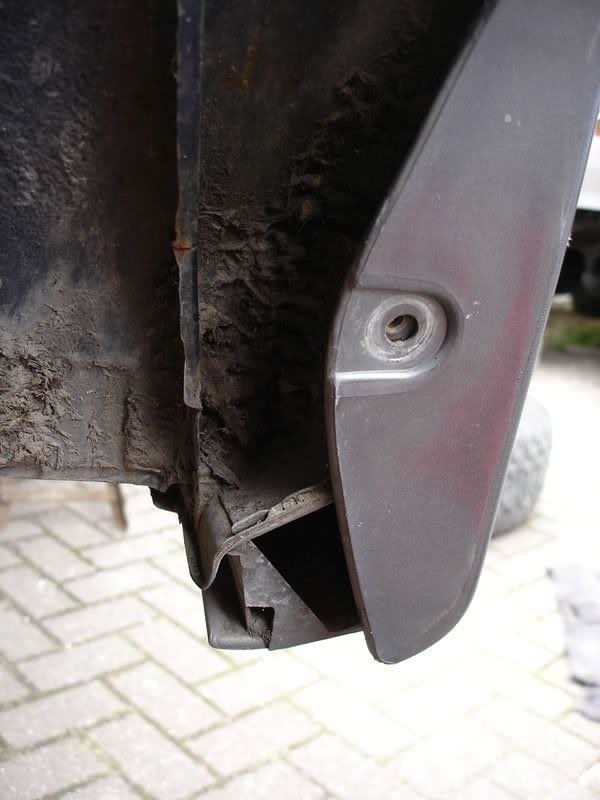
....and after I'd set-to with a grinder, file and lump hammer:
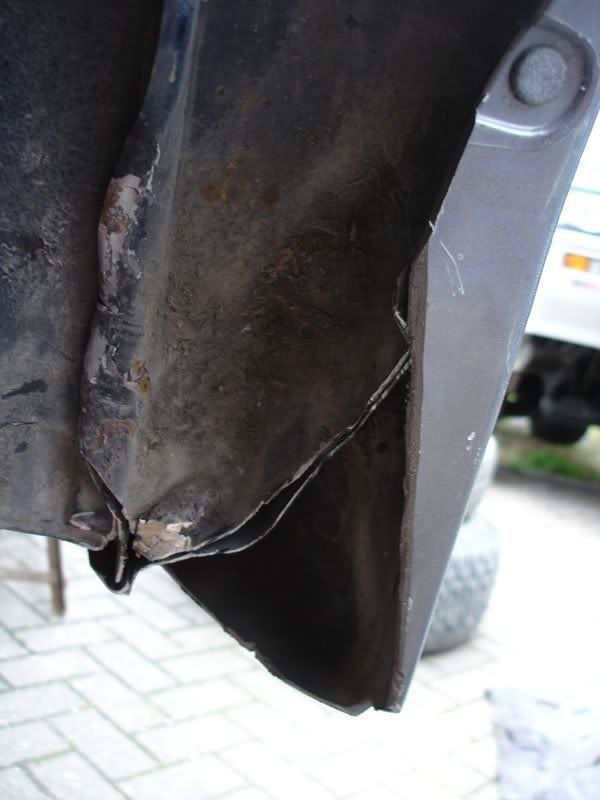
The 'opening' between the outer sill and the wheel arch isn't too much of a problem (nothing structural) and I've treated it all with a good dose of hammerite until I get around to having it all welded shut. Both sides were done in less than an hour and I then spent 40 mins running the hoover over the drive to get rid of all the burrs (to protect Jed's paws)
Here is the car just before putting the wheels back on and dropping it back on the deck:
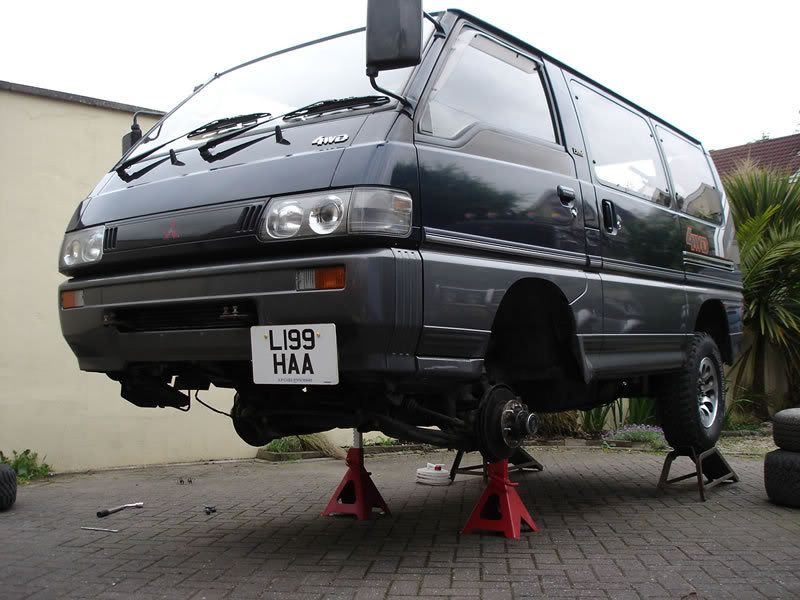
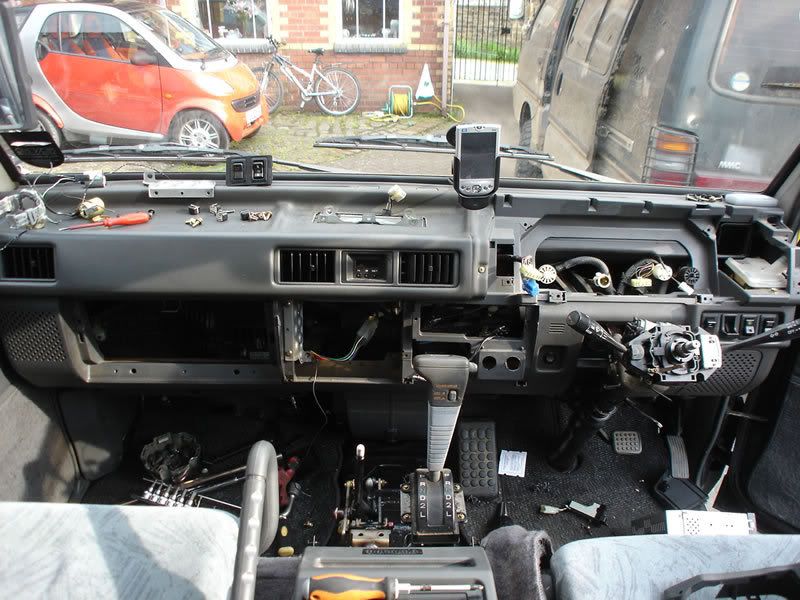
Just got to board out the back (floor & sides), refit the dash, install the cool box, CB, stereo, L400 rear seats and it'll be ready for action (oh - and fit the 31's)
So there you go - not too much to do and I'll have it on the road.
Gotta love these things....