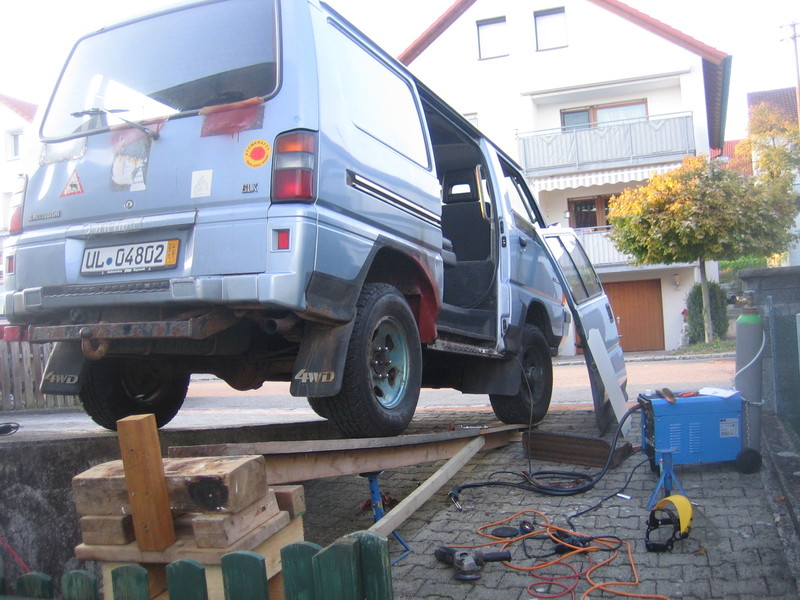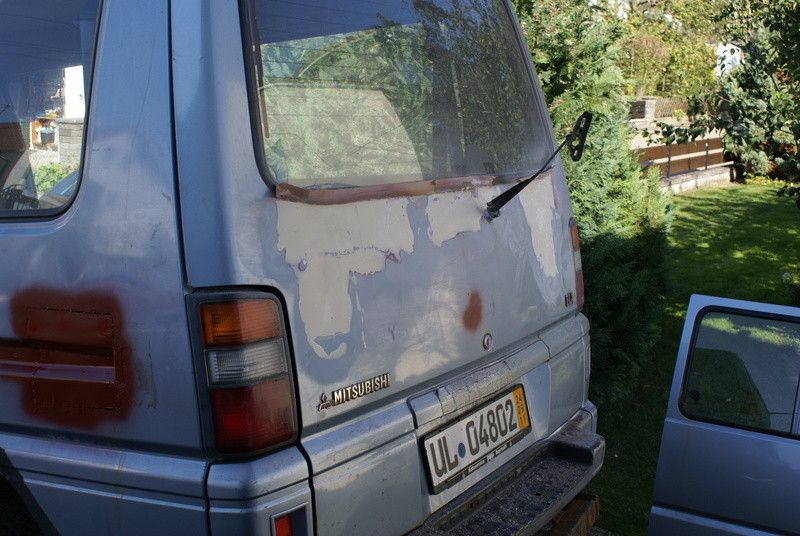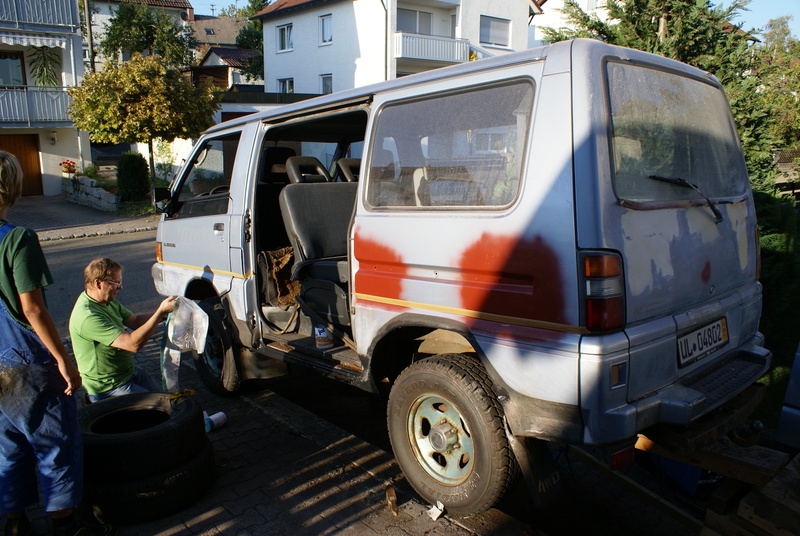
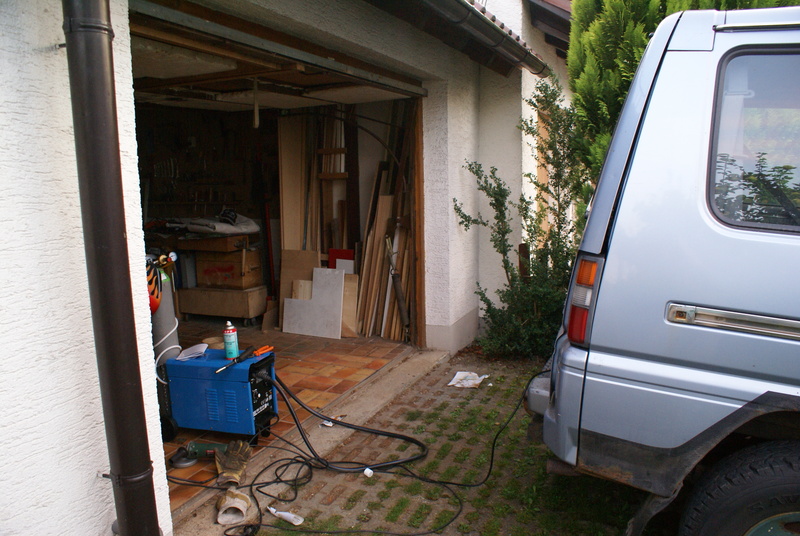
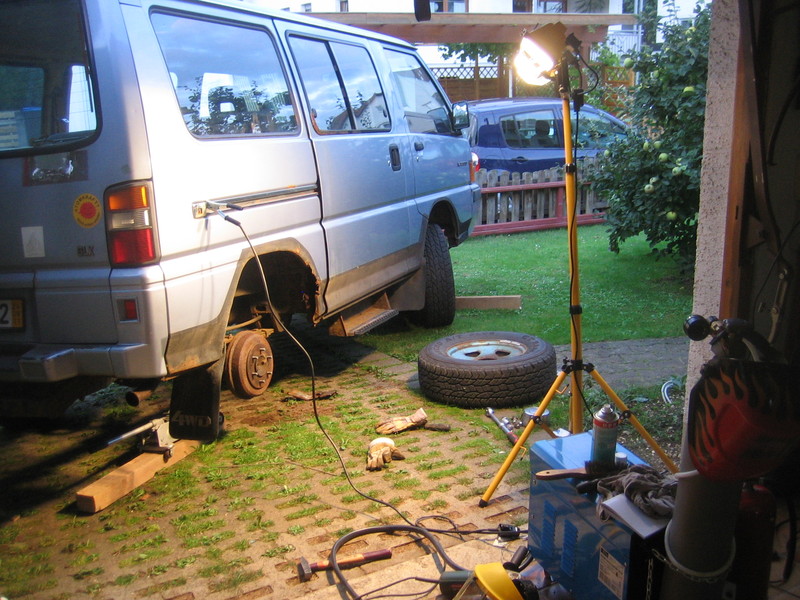
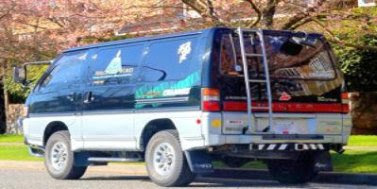
i figured i could start a thread today. This is what i bought:
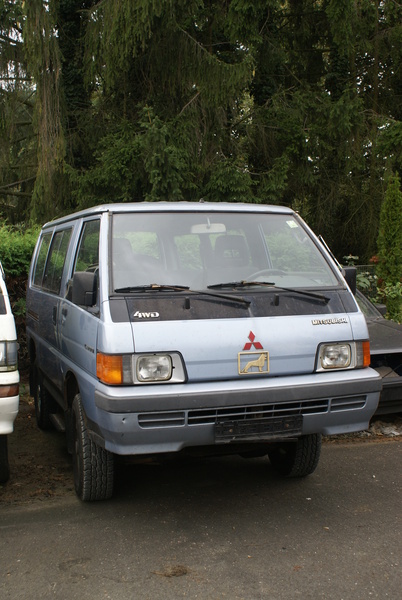
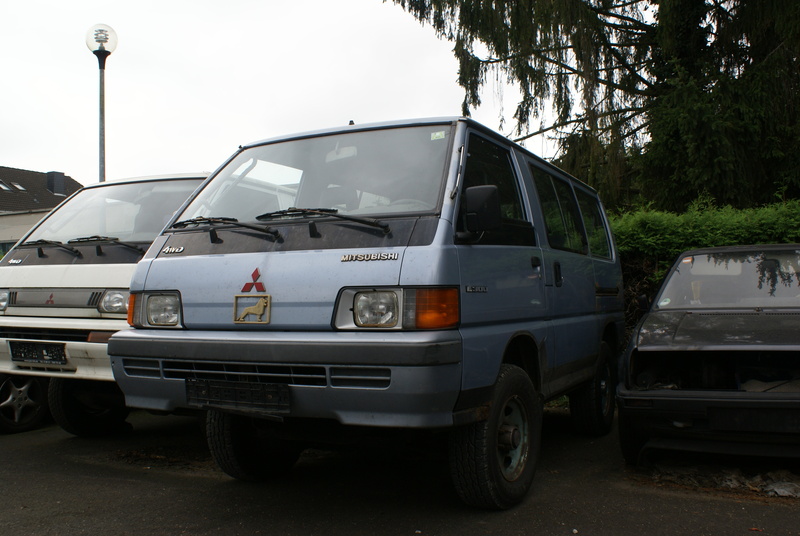
Specs:
MY1989
302.000km
2.4l gasoline engine 111hp
5 speed
automatic locking hubs
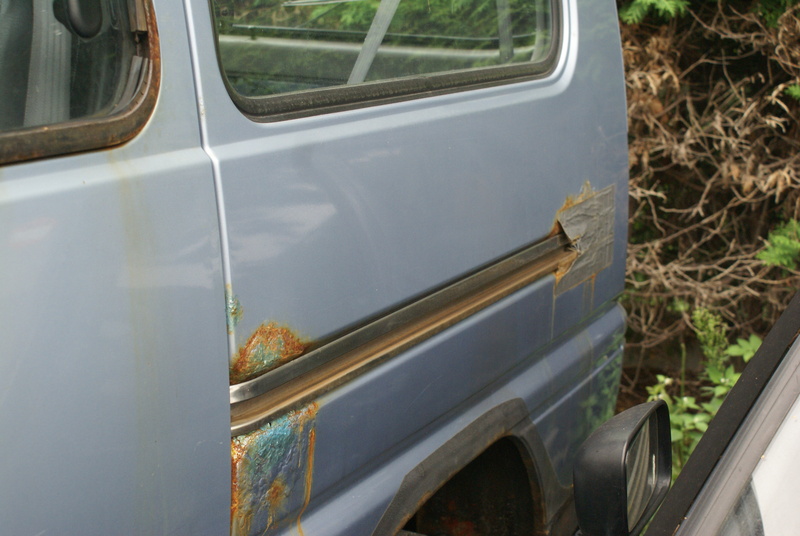
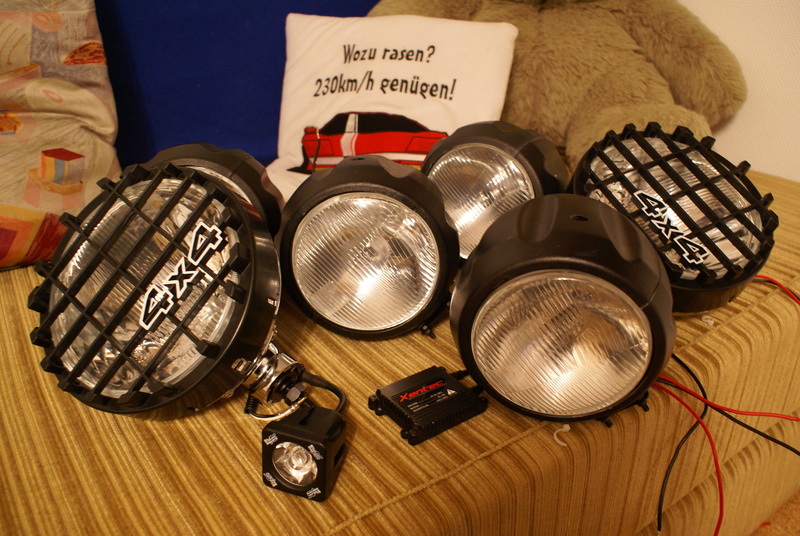
Plans are:
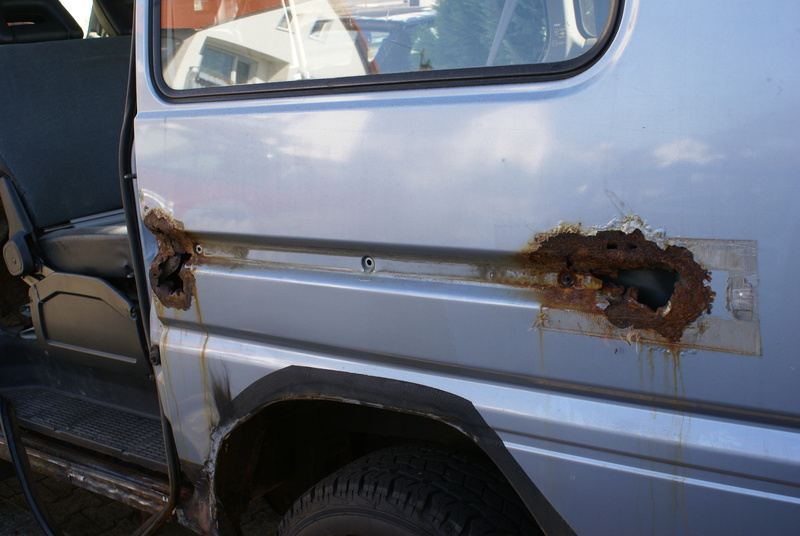
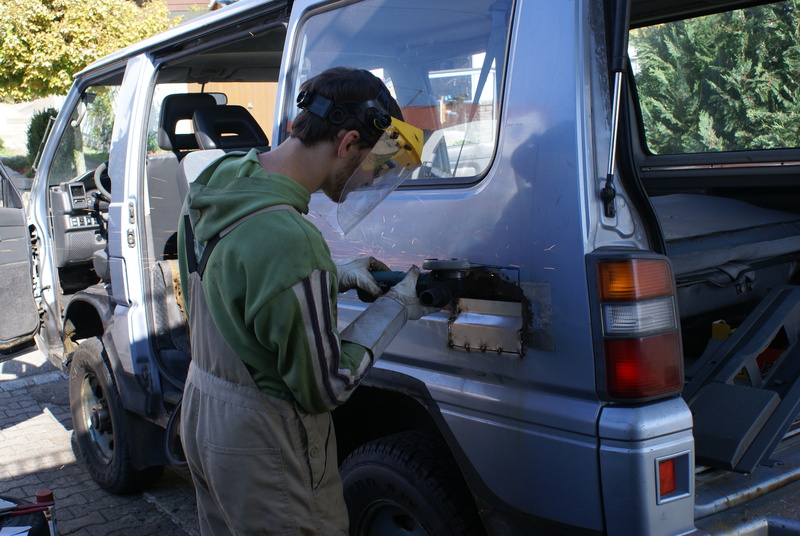
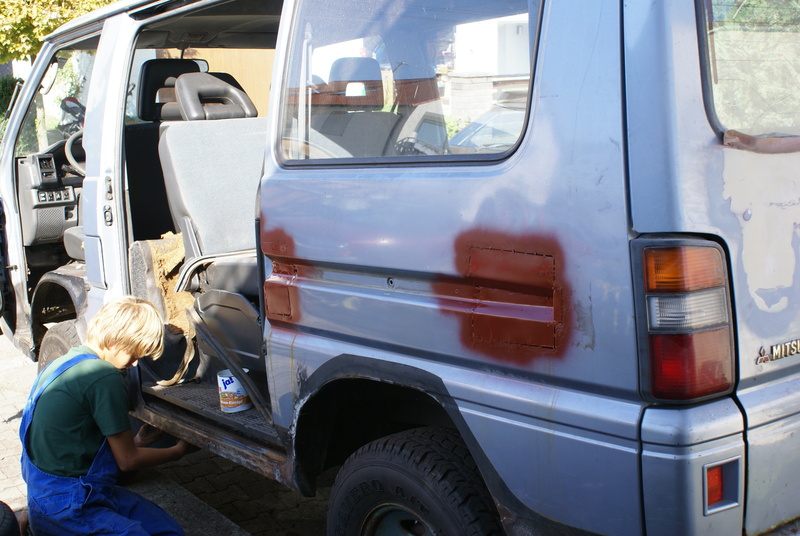
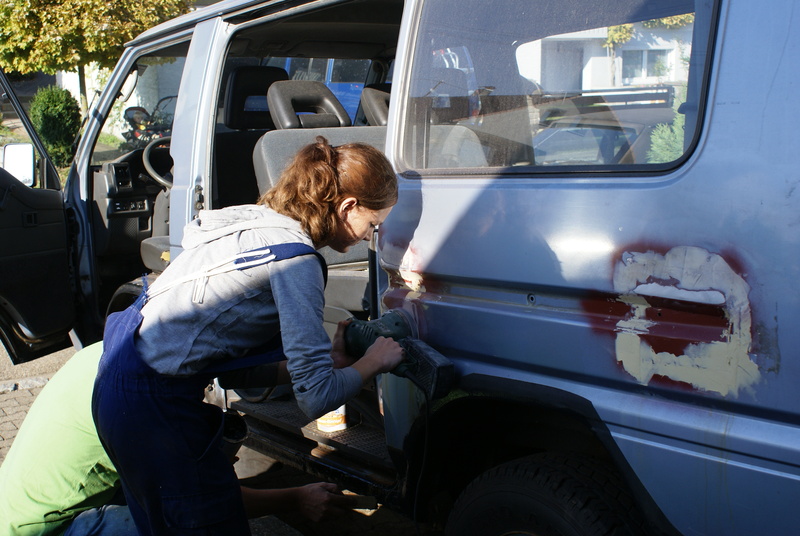
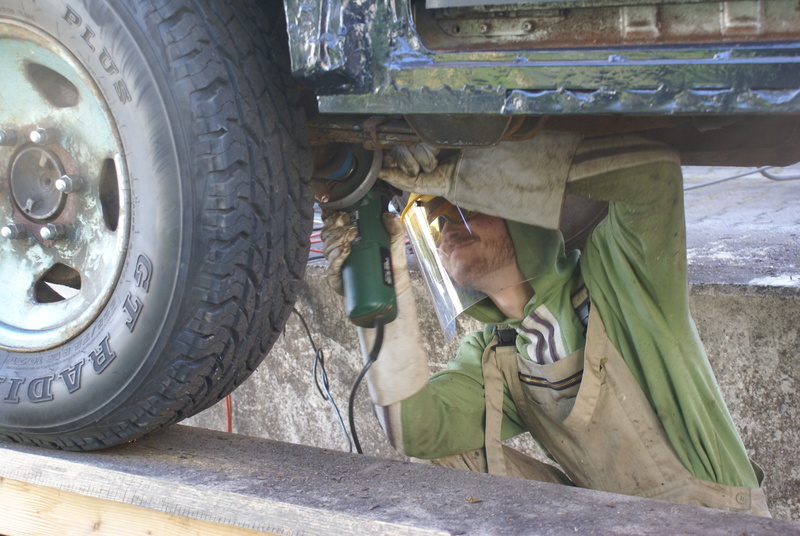
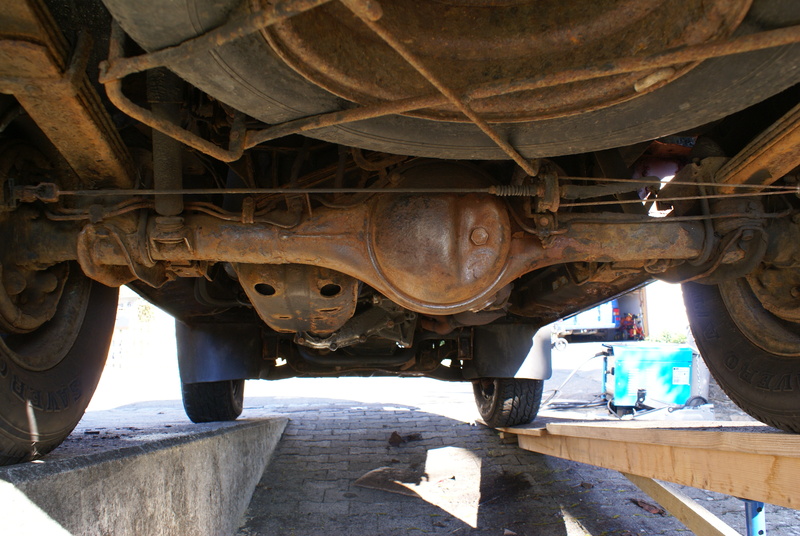
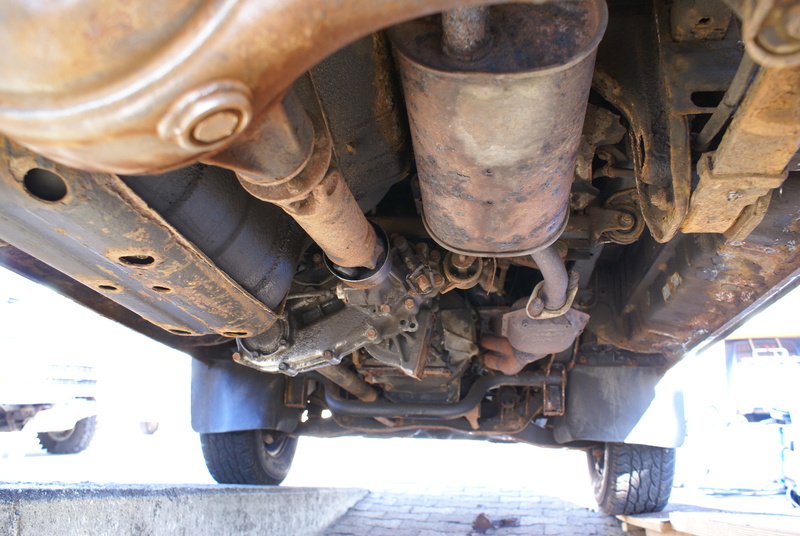
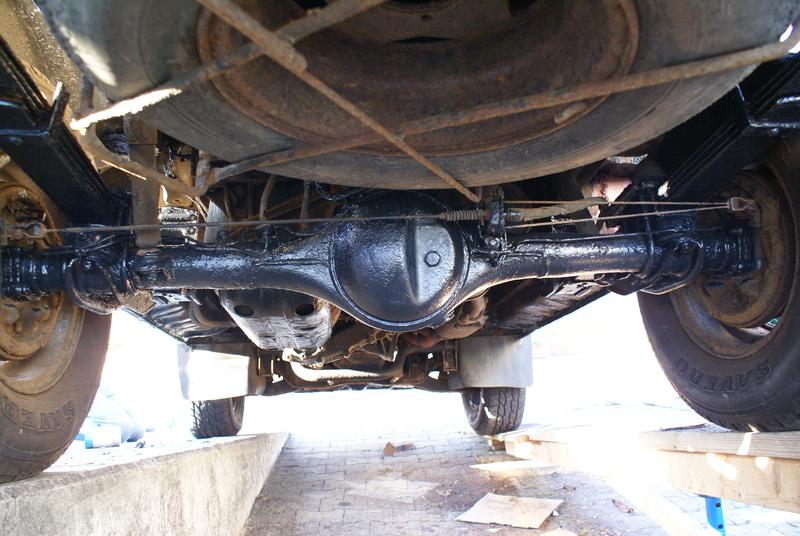
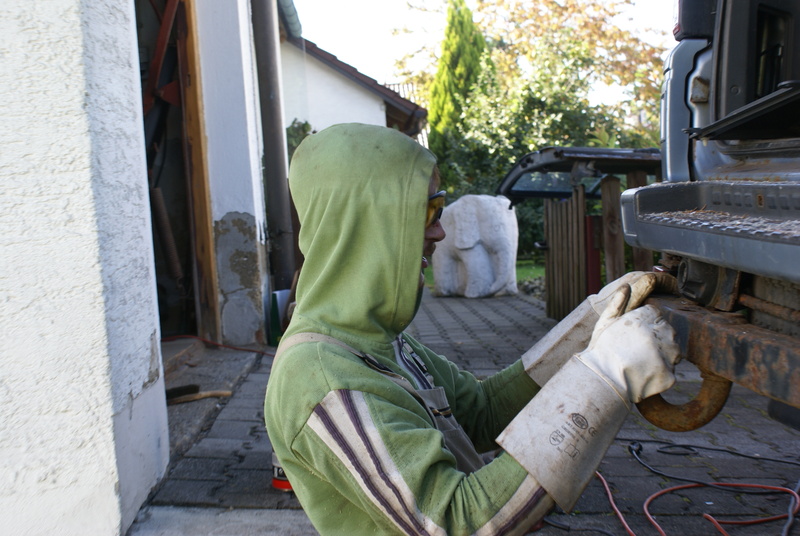
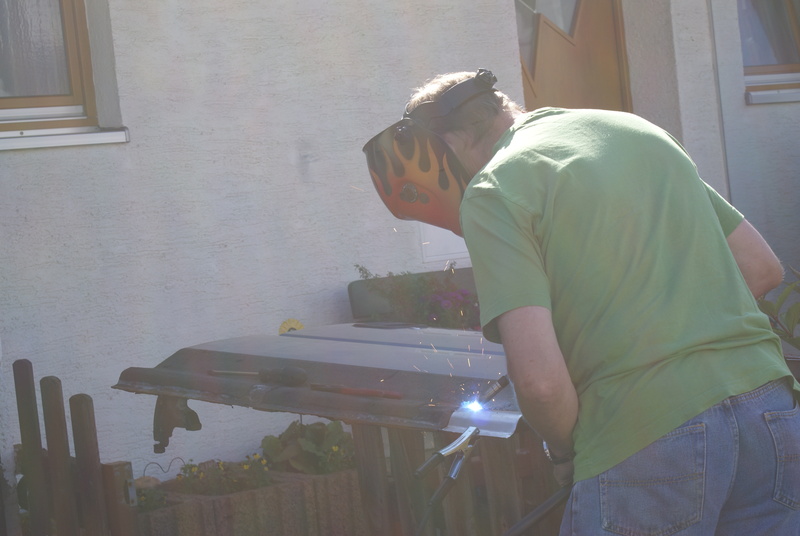
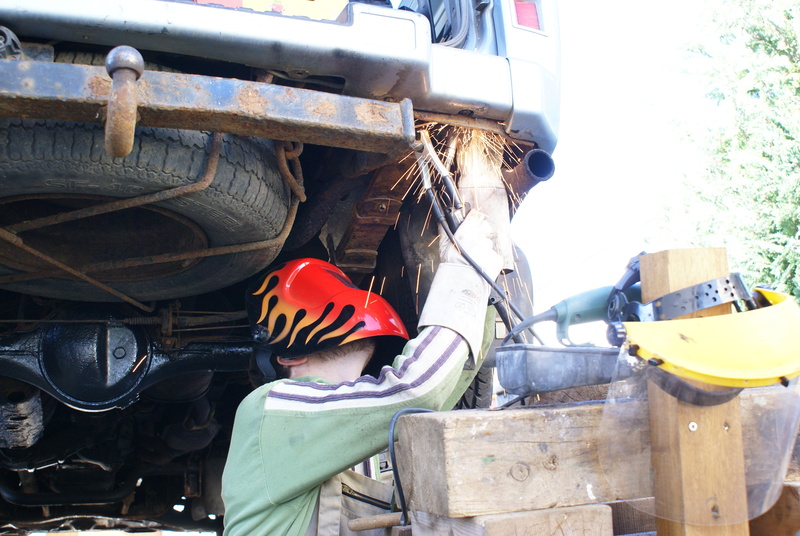
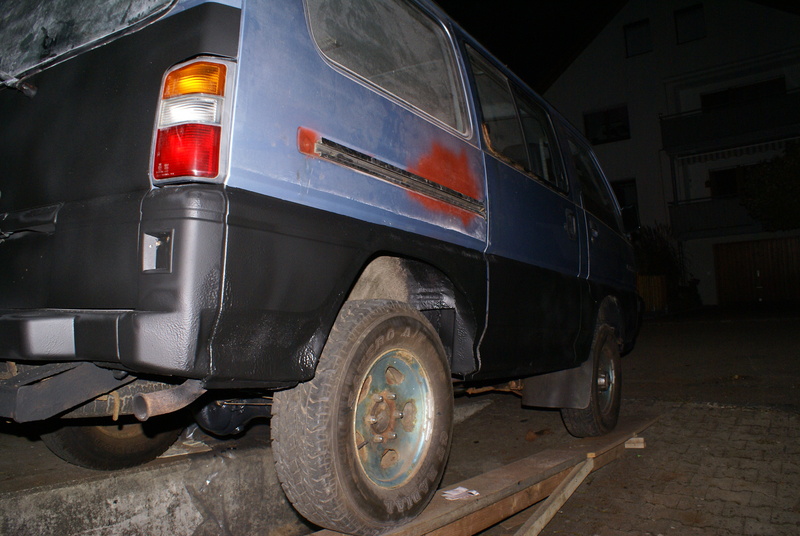
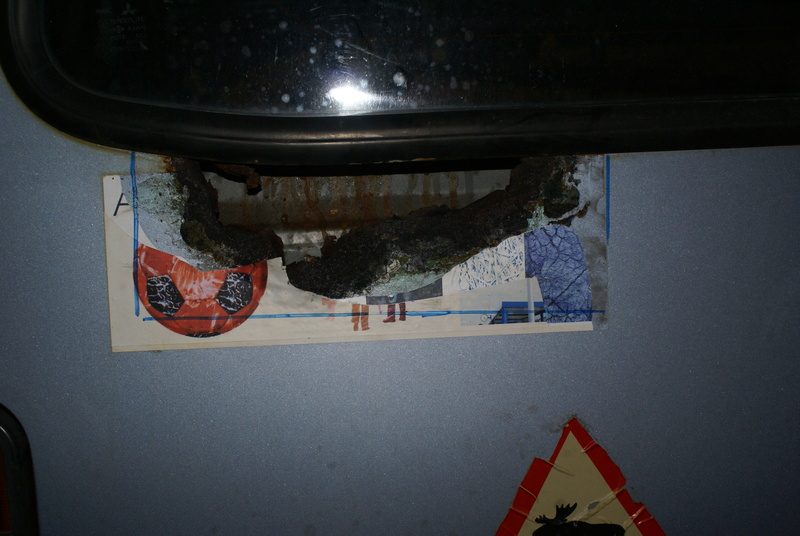
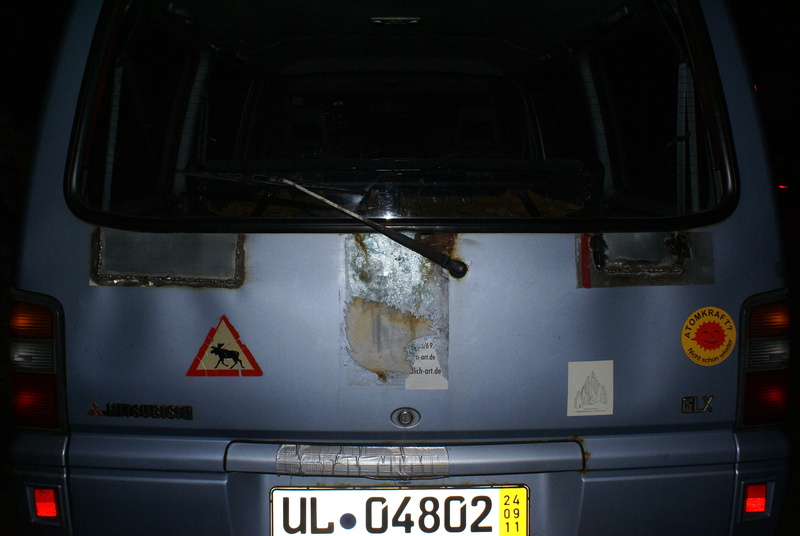
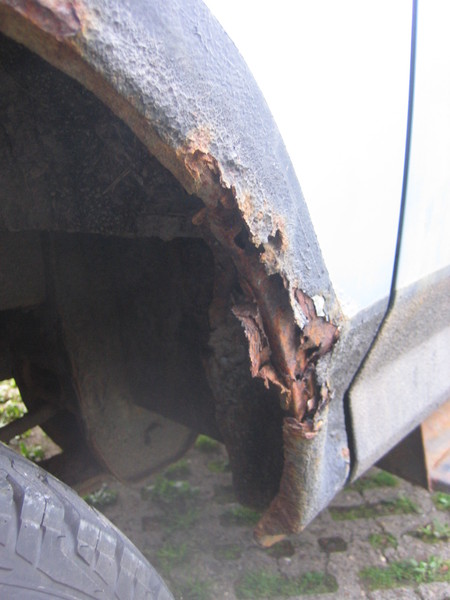
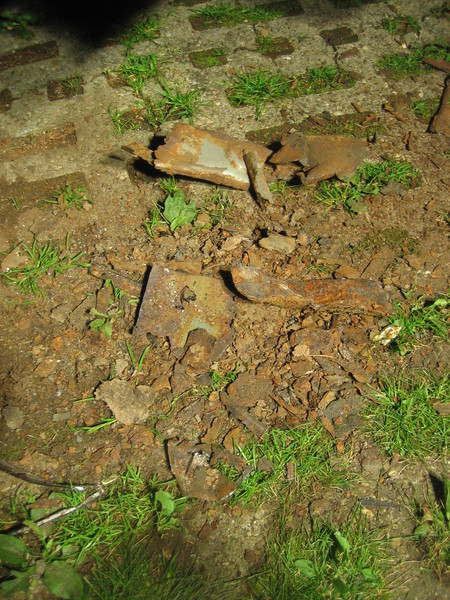
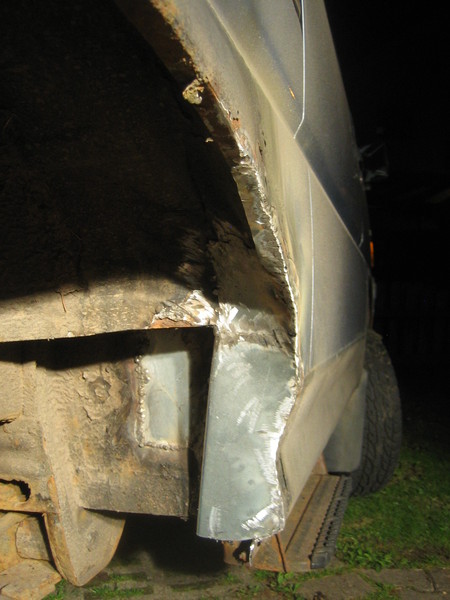
-Remove all the rust (it`s not as bad as it looks)
-Skid plates
-Front bumper with winch, 2 8" HID lights and 4 6" HID lights
-Rear swingout with the spare tire, hilift, shovel and jerry can mount
-mild lift
-camper conversion
First thing is to get it ready for the TÜV, the german safety inspection. And i can tell you, those guys are really hardcore...


 Good Ship