Quite some time ago I read this thread on the Oz forum on repairing your gimbal or inclinometer:
http://www.delicaclub.com/viewtopic.php?f=3&t=27524
Unfortunately, the photos from the thread are gone... since I just fixed mine I thought I would upload some photos for those who might need it.
My gimbal still had fluid, so not a problem, but the little plastic bit that kept it in place was gone.. I went out and bought some of the smallest machine screws I could find:
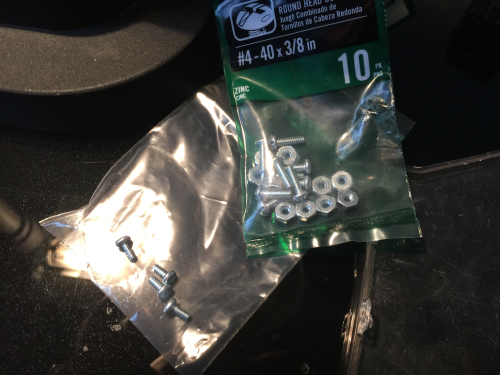
- Luck found me smaller screws
- screws.png (288.79 KiB) Viewed 2746 times
You can see I bought #4-40 screws - and just as I was about to use these, I stumbled across this packet of other screws in my toolbox, they are shorter and slightly thinner - I don't know what size they are, but I would guess #2 or #3.
I started drilling with a 1/16" bit, very very slowly. Then I moved up to a 5/64" drill bit, as it just fit the screws.
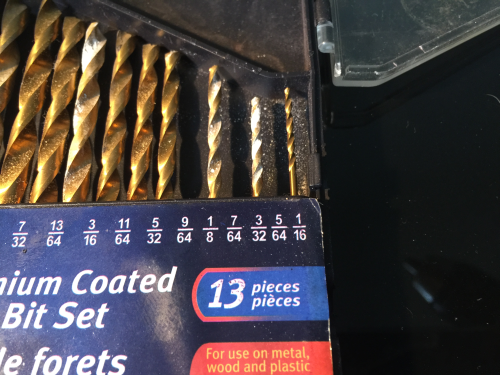
- Only the two smallest bits were used
- drill_bits.png (300.35 KiB) Viewed 2746 times
I drilled very very slowly and cautiously.
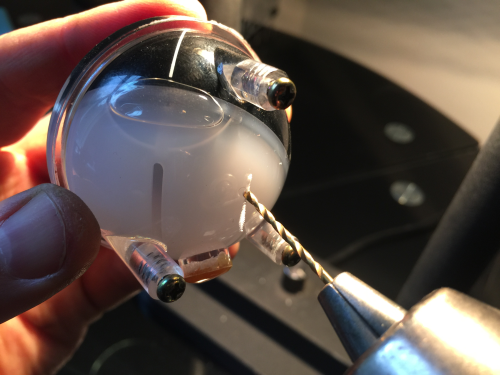
- Drilling Slowly
- drilling.png (241.25 KiB) Viewed 2746 times
I kept the air by the hole to try to prevent leaks, it actually worked!
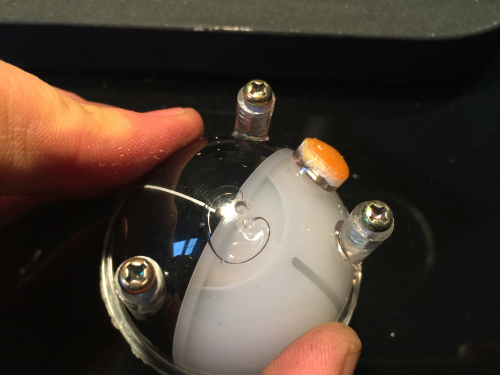
- drilled very carefully into spot where the support once was
- hole_in_ball.png (227.61 KiB) Viewed 2746 times
The screw thread was able to bite into the plastic and keep the fluid from leaking. I had to carefully adjust the screw depth:
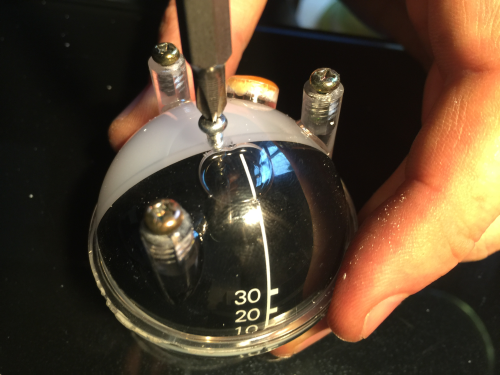
- Slowly drive screw
- screw_drive.png (255.62 KiB) Viewed 2746 times
Next, I had to spin the ball all over the place - I waited to do this in this manner so I did not spill fluid all over the place. It took a good bit of turning and shaking to get the screw lined up with the slot!
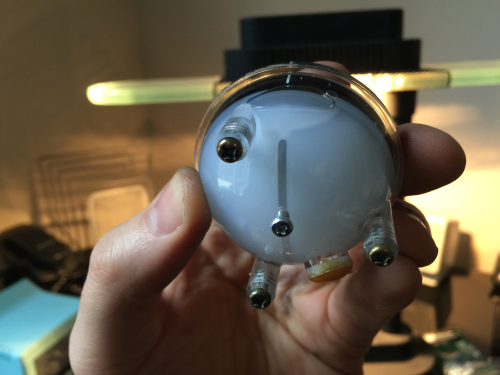
- screw in line
- aligned.png (234.57 KiB) Viewed 2746 times
The next bit took a little finesse. I had to turn the screw in just enough to catch the slot - but not so much that the ball would not be able to move. It was a very gentle operation. In the end, I found myself adjusting by 1/32 degree turns of the screwdriver. That is how tiny of an adjustment I needed to get it right.
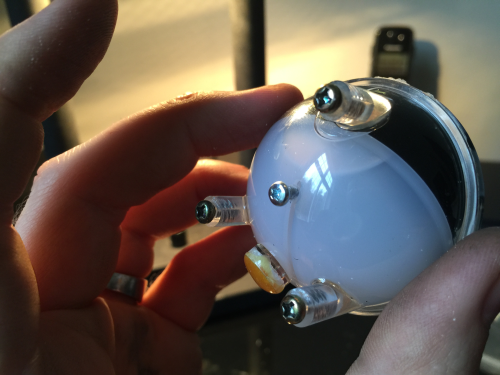
- screw_adjust.png (236.46 KiB) Viewed 2746 times
And it all worked!