

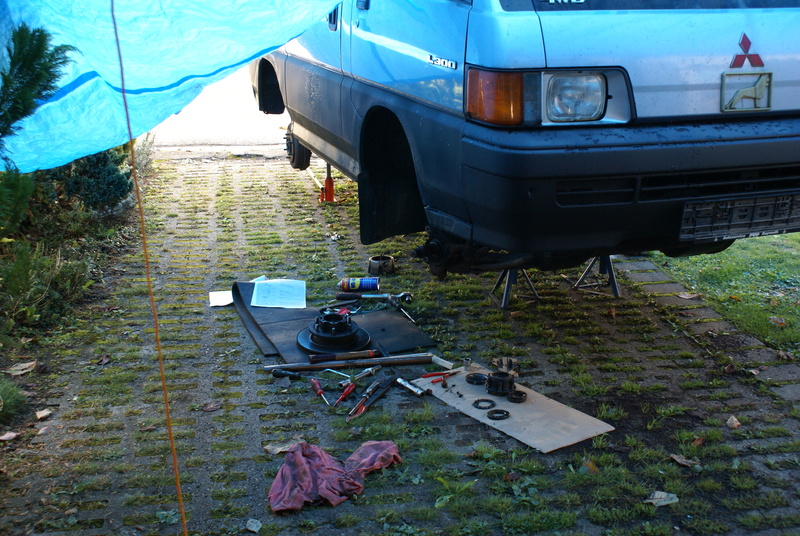
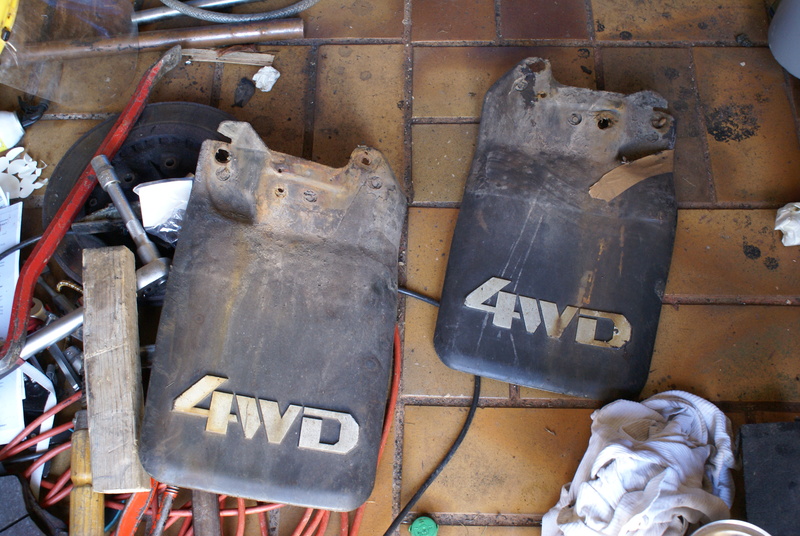
Here are two pictures of the bedliner fail:


I can't think of another reason ~ it's not dirty, got plenty of key, temperature was above 10C ~ only thing that I can think of is perhaps "dew point" (was it dusk when you were painting and dew was forming on the surface as you painted); or it was the paint: Did you brush/roll or did you spray? If you sprayed then there is the possibility of condensation in the line, do you have a water trap? Was the paint properly mixed?Steinbruchsoldat wrote:Same procedure as always: Sand with 240 grit, degrease with acetone and paint. Did this to a few cars without problems so far...
The night was warm, i think about 18°C. I think it was just a bad charge of bedliner that i got...
Will redo it tomorrow...
 Good Ship Miss Lil' Bitchi
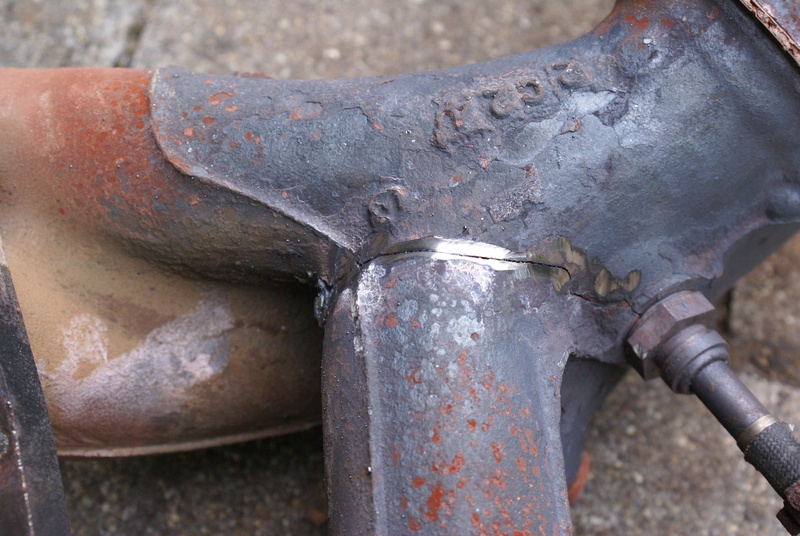
Check your tank as well (remove, wash all around....)Steinbruchsoldat wrote:Another bummer today...I noticed a crack in the exhaust manifold and wanted to weld it. For better access i removed the heat cover and noticed another crack all the way around the manifold. It`s basically broken in half. So i removed the manifold and exhaust completely and noticed another two cracks in the exhaust tubing. When i wanted to weld it i noticed that my gas for the welder was empty...
So i have lot`s of work to do tomorrow after work, so i can maybe try to get it inspected on Thursday. But my brake kit won`t arrive in time, so i have to be really lucky to get it approved...
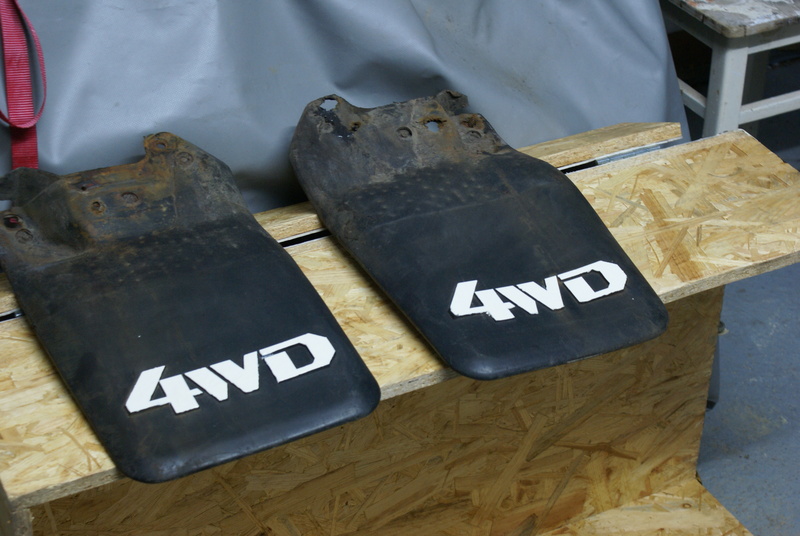
At least i painted it again today and the paint sticks like it`s supposed to...


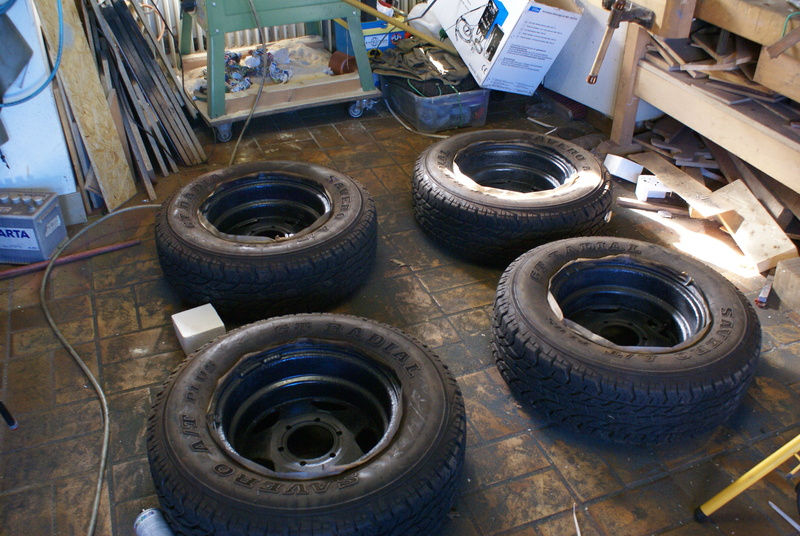


Which kind of color is your bedliner? Picture of can :) if is possible :) (In Serbia we use some 999 color?@#?)Steinbruchsoldat wrote:Made some great progress today...
And sprayed it with some bedliner:


