This tutorial is for the non-motor folding mirrors found on the L400. I had a used unit in my stash of parts and I was expecting stuff to break during the teardown.....so my loss will be your gain in HOW NOT TO DO this.
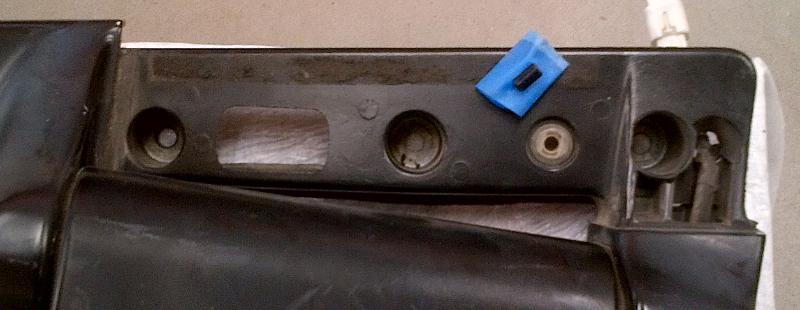
The first thing to come off is this exterior trim plate which is held by 2 styles of plastic clips...be gentle with these clip as they can break off very easily and even if you're gentle the lower pin will probably break like mine did (darn).
- AIR_20150721_00000.jpg (126.14 KiB) Viewed 2192 times
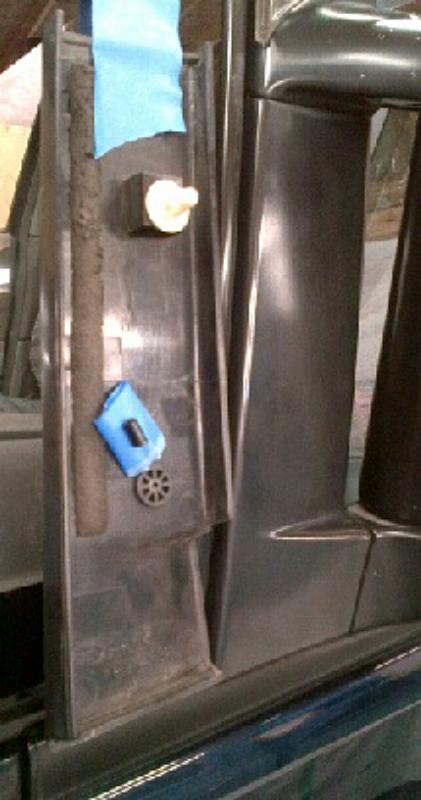
There are 3-12mm bolts that hold the mirror assembly to the door frame (yep outside) I taped the plastic pin that broke so you see the yellow/white nylon plug it fits into.
- AIR_20150721_00002.jpg (34.13 KiB) Viewed 2192 times
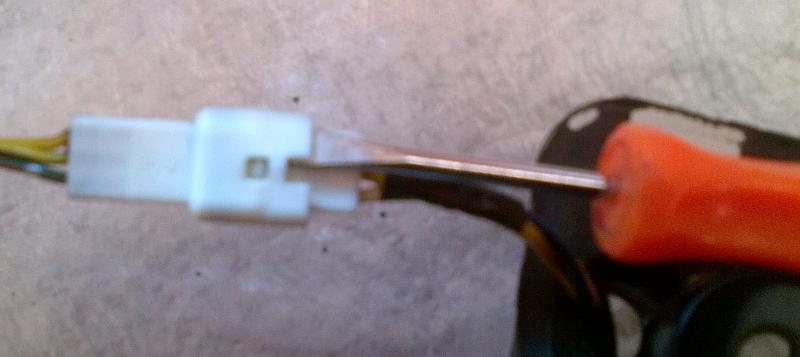
Once these are free you will need to disconnect the wiring harness using a small screw driver to press the lock pin.
- AIR_20150721_00003.jpg (26.37 KiB) Viewed 2192 times
There is a small wiring cover located at the bottom pivot point but it doesn't require removal for motor service. I tried to remove this one and broke it because I didn't realize there are 2 side clips (position marked with green tape) that hold the cover in place (darn again!)

- AIR_20150722_00000.jpg (58.46 KiB) Viewed 2181 times
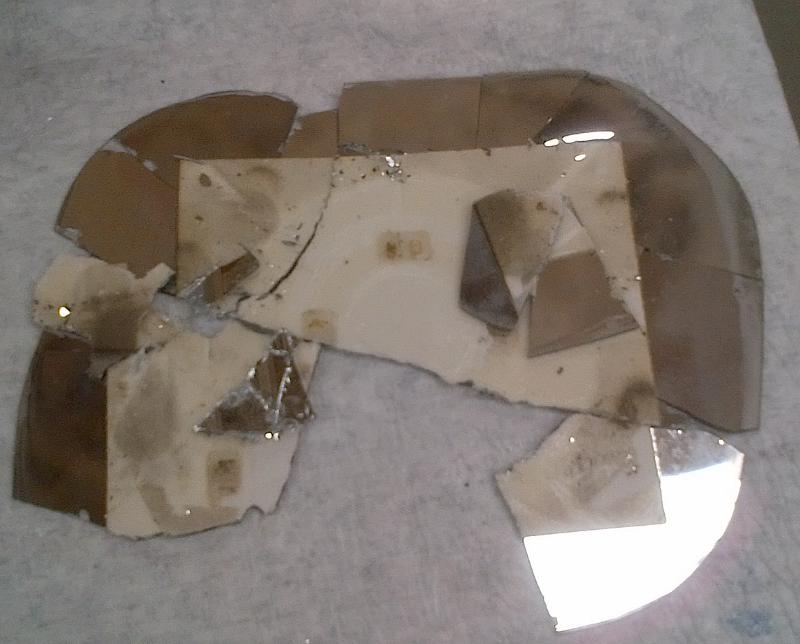
With the mirror on the bench, now comes the hard part.....you gotta get the glass off, since mirror glass is cheap I opted to break mine after gentle prying yielded no results. That sticky foam backing tape released once the glass was broken. (dam)
- AIR_20150721_00001.jpg (50.34 KiB) Viewed 2192 times
Once the glass is out it provides access to the screw and pivot socket parts which hold the the plastic backing plate to the pivot motor pack.
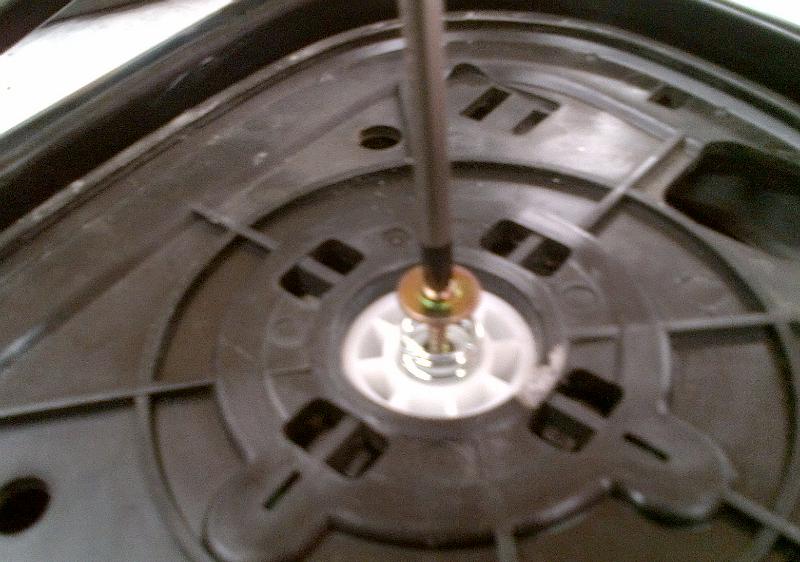
- AIR_20150721_00010.jpg (64.74 KiB) Viewed 2188 times
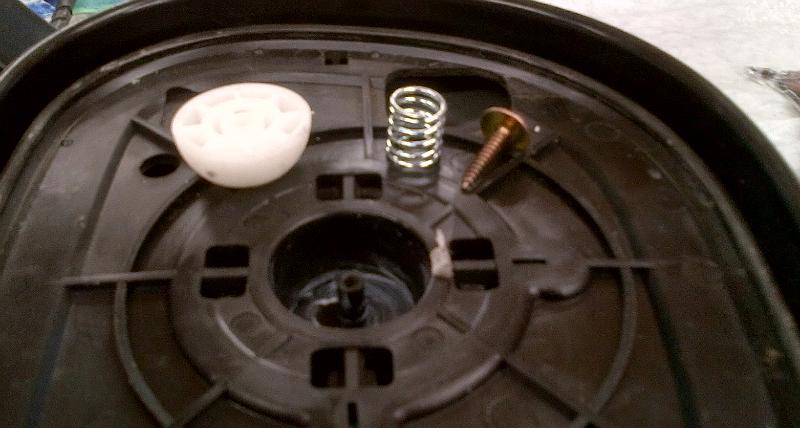
- AIR_20150721_00004.jpg (43.45 KiB) Viewed 2192 times
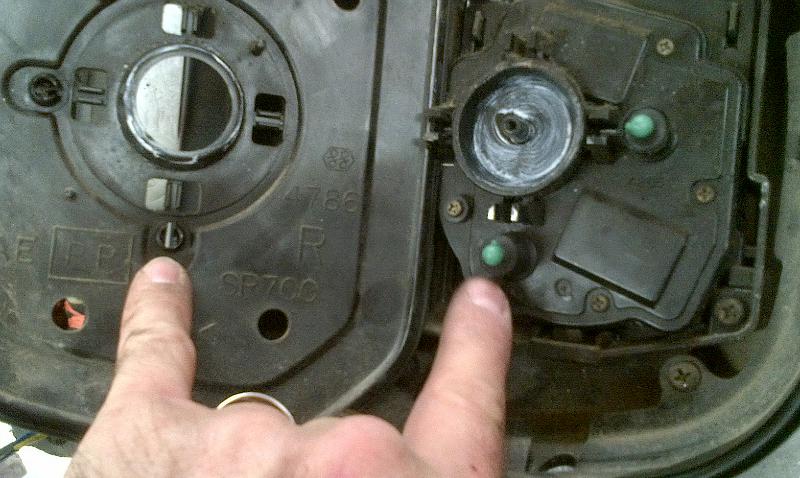
The plastic plate has 2 sockets that fit on the green balls...this is what moves the mirror up/down left/right. Its okay if the green parts pop out, that can be reinstalled with a gentle push and it wont damage them. There is a little nub on the green ball that lines up with a notch in the socket(see where my fingers point).
- AIR_20150721_00005.jpg (66.96 KiB) Viewed 2192 times
The 2 mirror adjustment motors are under that cover held with 4 small phillips screws. If you popped out the green pins this is a good time to reinstall them. Please note there are dust boots over the green pins and they do tend to degrade over time like all other 15+ old delica plastic bits!

- AIR_20150721_00006.jpg (76.4 KiB) Viewed 2192 times
I will assume if you have read this far you can figure out how to put it all back together now
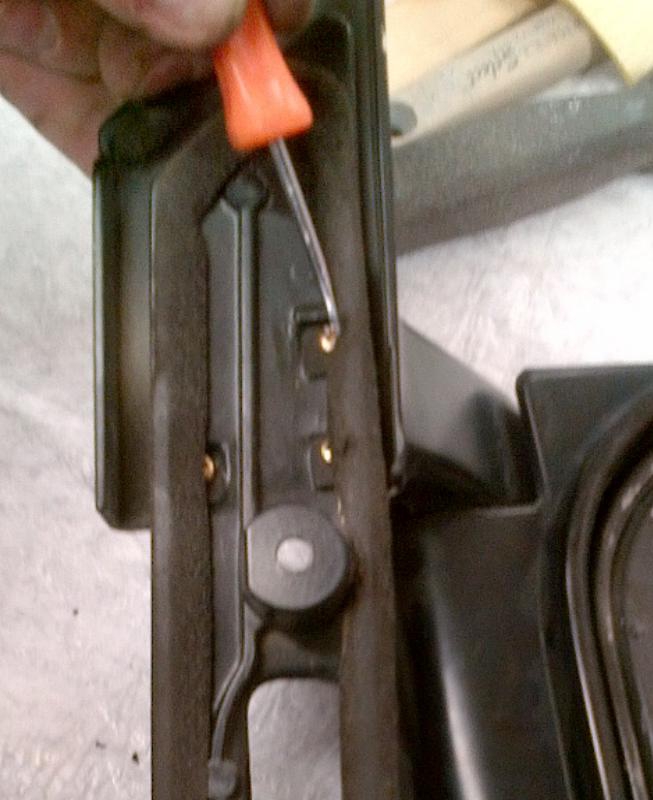
So what broke during my tutorial...(sigh) 3 parts....wiring cover, mirror glass and the trim plate pin which I am trying to repair(clamp) using gorilla glue and a metal nail....we'll see if that works!

- AIR_20150721_00009.jpg (212.5 KiB) Viewed 2192 times
If your mirror has a folding motor this post does not cover that item but my pics should get you in the right area to effect a repair of that type. There are numerous screws, many of which are held with blue locktite and that stuff is hard. You may strip some screw heads if you go any further here so you should have good driver bits. I make no gaurantees if you follow this as you are on your own now but I would strongly advise to apply downward pressure on the screw driver so you get a solid bite in the screw head. This should help with the initial turn/loosen.
Here's where the folding motor sits inside the mirror body.

- AIR_20150721_00011.jpg (172.16 KiB) Viewed 2188 times
Heres the first 6 screws you need to remove in order to service the folding motor.
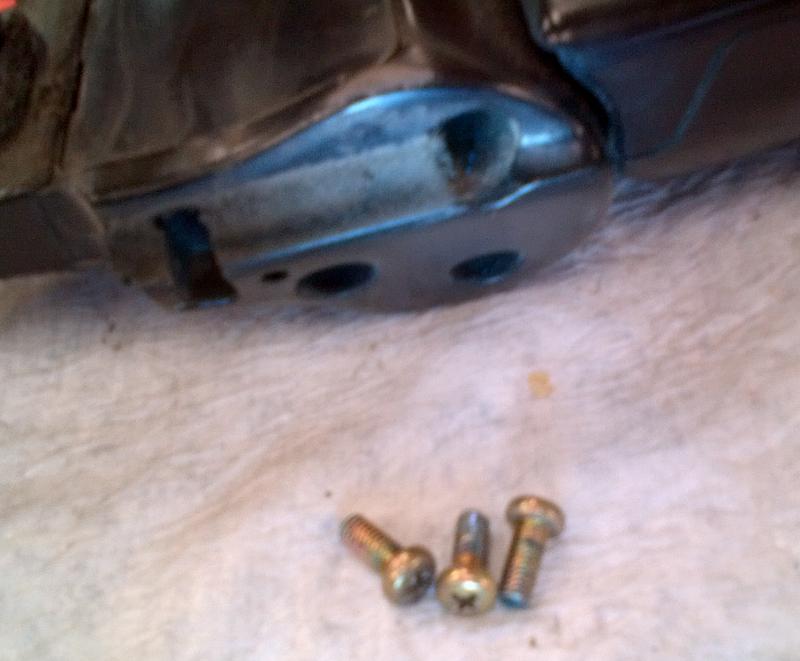
- AIR_20150721_00007.jpg (45.97 KiB) Viewed 2192 times
- AIR_20150721_00008.jpg (181.68 KiB) Viewed 2192 times